Tuesday 31 March 2020

Vairatgad


Vairatgad fort
Vairatgad as seen from Vyazwadi

Basic Facts

Name: Vairatgad (वैराटगड)
Base village: Vyazwadi (व्याजवाडी)
Nearest town: Wai (वाई)
Distance from Pune: approx. 95 kms.
History: Trekshitiz

Vairatgad is a small fort located near the town of Wai in Maharashtra, India. It takes around 30 minutes to get to the base village from Wai. Unfortunately, I do not have the local transport details this time, however, you can get them by calling the Wai State Transport Bus Depot.
Not much to say about the fort, besides what's already been said at the above link.

The Route

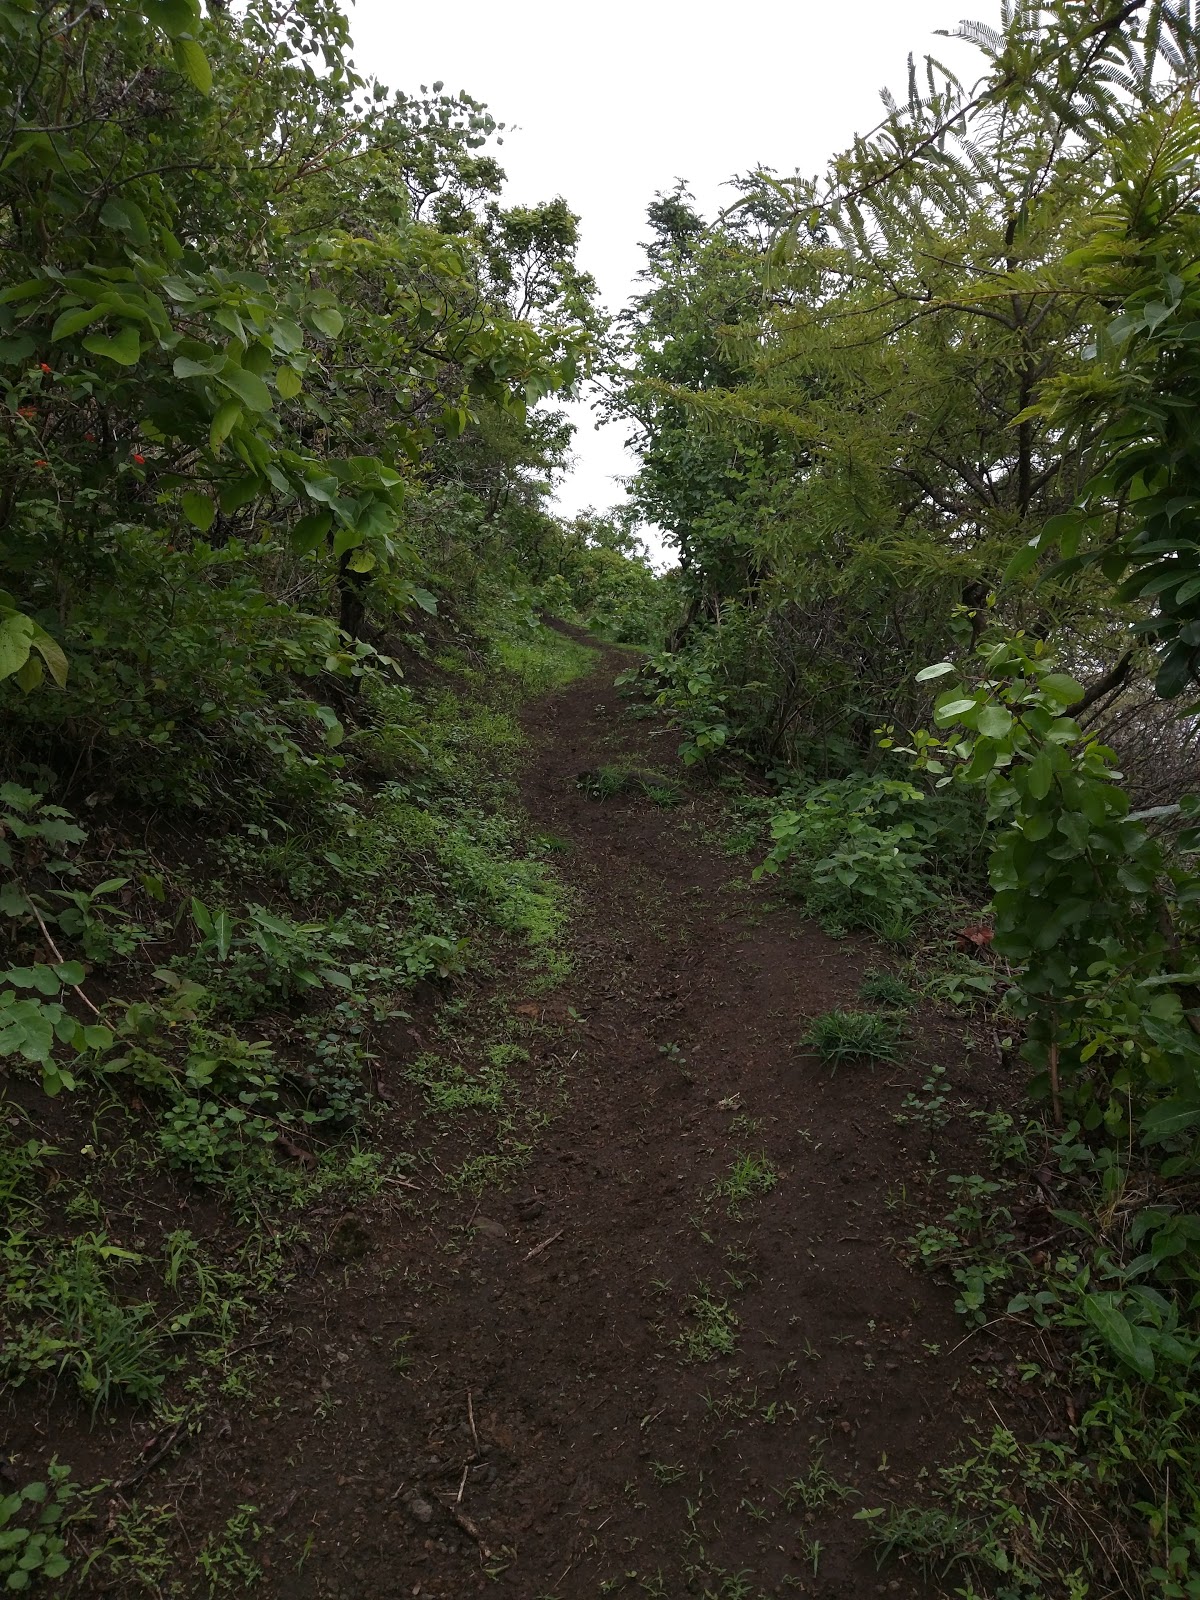
The route begins from the village of Vyazwadi. You can ask any villager you come across and they should be able to point you to the start of the trail.
The trail itself is well trodden and marked as well, so there's little chance of getting lost here. Although, if you visit the fort in the monsoon, the markings may be hidden in the undergrowth.
The trail can be divided into three sections; the rocky road, the traverse and the slipper. The entire trail with the exception of the traverse section has an average incline of 40-45 degrees. Also there is very little tree cover anywhere on the trail, so I would caution against visiting this fort in the summer.
It should take you around 30-45 minutes to clear the first two section and another 20-30 minutes to clear the third. A note of caution. The trail, specifically the third section, get extremely slippery during the monsoon.
As you come to the end of the third section, you will be able to see a perpendicular trail with the citadel looming over you. If you go left here, you'll come upon a series of water tanks carved into the cliff and massive bee hives above you. Continuing on this path will take you to what the locals call नाक टेकडी (literally, Nose hill) and descend from there to a different village altogether.
Take a right here will lead you to the stairway of the citadel and the ruins of what must have been the doorway.
As you come up on the fort, you can see two temples and a lake on your left.

The larger temple has a large enough verandah which could be used to stay in.
Looking to the right, you can see a chain of fortifications and another small temple.
It will take around 20-30 minutes to take a walk around the entire fort.

Photos


Saturday 21 July 2018

Pandavgad

Pandavgad fort image © TourMyIndia.com https://goo.gl/TFakKB

Pandavgad is a fort located near the town of Wai in the Satara district of Maharashtra. One odd thing about this fort is that it is owned by a company named Mapro! Wonder how that came to be...
The location of Pandavgad is unique in the sense that it is somewhat detached from the other mountain ranges in the area. Due to this, the fort can be accessed through routes from multiple villages. In fact, according to a book 'Sangati Sahyadricha', there are 4-5 base villages from where paths go upto the fort.
However, when I asked the person (who stays on the fort) appointed by Mapro, he said that only two routes are currently used, the ones from Kambatwadi and Gundewadi. Of these two routes, the one from Gundewadi is the shortest one.

Getting there:

Public Transport
1. Get an MSRTC bus from Swargate to Wai/Panchgani/Mahabaleshwar and alight at the Wai bus station.
2. Get a bus/local transport (jeeps and the like) that are going to Mandhardevi and alight at your preferred village (Kambatwadi or Gundewadi).

Private Transport
If you're travelling by car/bike, take the Wai exit on the Pune-Bangalore highway. This point is also known as Surur phata.
Follow the road that goes to Wai from here till you come to a fork. The road on the right goes to Wai's MIDC area and continues from there to Mandhardevi. If you think you're lost ask any person from directions to Mandhardevi.
Gundewadi is located at a distance of around 7 kms from Wai.
Note: The route up to the fort begins from the highway itself before you even get close to the village. There some space where you can park your vehicles.
The best option once you get close to Gundewadi would be to ask a villager for the start point of the trail.

The Trail

I have tried to mark the trail to the best of my abilities and recollection on the map. Please do not consider it to be an accurate measure.
The trail is pretty simple with gradual inclines thanks to its zigzagging pattern. There are three primary stages to the climb. Each stage ends at the top of a small hill, until you finally come to what seems like a dead end in the path. The stairs going to the fort begin from this point onwards.
Keep following the trail until you reach a small bungalow style structure on the fort. You may have to make an entry in the visitors log available with the person who stays here on behalf of Mapro.
Standing in  front of the entrance of the structure, turn left to see a small path that goes up to the citadel of the fort. Following this trail you will come across remains of the gateway of the citadel before the path makes a U turn to the citadel.
The citadel has a few remains of battlements, one large lake, a mortar grinding wheel and two temples - one of which has been reconstructed.
As we had visited this place in the monsoon, we couldn't explore the other parts due to the overgrowth.
It takes around 2-2½ hours to get to the top and another 30-45 minutes to see the fort.

Some photos from the fort


Saturday 5 May 2018

Vasota


Vasota is located within the Koyna Wildlife Sanctuary in the Satara district of Maharashtra. Its location in the sanctuary means that the fort comes under the jurisdiction of the Forest Department. This has helped to keep the fort clean and you won't find any plastic lying around on the route.

How to get there

The easiest route to this fort is from the Bamnoli village.
To get to Bamnoli, take the Pune-Bengaluru highway till Satara.
From there, take the road that goes to the Kas plateau.
The same road will continue towards Bamnoli (Plus Code: 7J9M7J9MPQM5+GW).
From Bamnoli, you will have to take a boat to the fort.

Charges (as of February 2018)

Since Vasota is under the jurisdiction of the Forest department and due to its location in a Sanctuary, there are some charges that you will have to pay.
Launch Fees: 3450 flat fee. The launch can accommodate 15-20 people.
Forest Fees Breakdown:
30 - Basic fee per person
50 - Camera fees
150 - Motor launch parking fees
200 - Guide fees
100 - Tiger Foundation Fee

Besides these fees you will also have to keep 200 as a deposit at the forest outpost at the base of the fort. They will make a note of all plastic items you have with you (especially bottles) and will check if you have brought all the plastic back with you later. If you haven't, the deposit will be confiscated.

The Route

The whole route is well marked. There are no chances of anyone getting lost unless you go off route. Although, due to previous incidents, a guide is compulsory (fees are included in the Forest Fees). The boat operator will double up as your guide. 
The route begins from the right side of the forest outpost. The first part of this route is a small path. As you come to the end of this path, you'll come upon a river bed on your right. Here, there is a small temple dedicated to the monkey God Hanuman. The route to the fort proceeds beside this temple and climbs up, leaving the riverbed behind.

There is a small pond of potable water some ways behind the temple. It's recommended to fill up all your bottles as there is no water on the fort or anywhere on the route.
The route from here is simply amazing! Lush green canopies ensure you don't feel the sun and if you're lucky enough to be alone you will be able to hear the sounds of hundreds of birds. The climb has some steep patches but the absence of direct heat will make the climb easier.

The halfway point of the fort is marked by two basic concrete benches built by the forest department. Just behind the left bench, you will see some ruins that have long been taken back by the forest.
Th climb from this point onwards is considerably more difficult. Mainly because the jungle canopy starts thinning out and is replaced by the Karvi plants. Ten minutes after you leave the halfway point, you will come to a junction. You have to take the path on the left that leads up to the mountain. The other path will take you to the Nageshwar cave temple.
The first part of this path is somewhat steep, though you still won't feel the the sun. The second half of this climb is through patches of Karvi plants. The path here is filled with small pebbles that can make it difficult during the descend. As you come out of the forest, you will be able to see what is remaining of the fortifications. Climbing the stairs at the end of this path, cross the ruins of the doorways to enter the fort.

Things to See

Hanuman Temple

Babu Kada
Essentially Old Vasota, this cliff or mountain if you will is said to be the older Vasota fort. Any route going up to this fort is long lost or known only to a select few local people.
Nageshwar temple mountain
Nageshwar is a temple dedicated to Lord Shiva, one of the Holy Trinity in Hindu religion. There are two ways to get to this temple - one from the Chorawane village and the other from Bamnoli.

Monday 26 June 2017

Sanjeevani Machi (Rajgad)

sanjeevani-machi
Sanjeevani Machi seen from the Vyaghramukh Bastion
The strategic importance, the well-planned architecture and the fact that it took me 5 visits to Rajgad to visit Sanjeevani machi, merits it its own blog post.

Sanjeevani machi (fortified part of a mountain ridge) is one of the most heavily fortified areas of the Rajgad fort. The fort has two other such ridges, namely, Suvela machi and Padmavati machi. The balekilla (citadel) of the fort is nested at the meeting point of these machis. The Sanjeevani machi hosts a gateway named Alu Darwaja (door). Through this ‘darwaja’ one can access the route which meets up with the Budhla machi on the neighbouring Torna fort.

Sanjeevani machi can be divided into 3 parts for better explanation. The first part is the length from the Balekilla to the Tehalni (observation) Buruj (bastion); the second part is from the Tehalni Buruj to Vyaghramukh bastion; and the third part is from the Vyaghramukh to the last bastion of the machi.

Pali Darwaja
To get to the machi, one has to start walking towards the balekilla from Padmavati machi. Right below the balekilla, there is a fork in the path. The left path goes up to the balekilla while the right path goes to Sanjeevani machi. Taking the left path, one has to cross through a small doorway. On crossing the doorway, you’ll see the path sloping downwards for some distance. On the left, you can see the Pali Darwaja, which guards what used to be the primary route up the fort.

Tehalni buruj and the path that goes down to the machi
Tehalni Buruj and the path
to the machi
The path, traverses the length of the balekilla and reaches the first part of the machi. AS you walk towards the Tehalni Buruj, you can see the remains of a Sadar (office). As you move ahead, you come upon the remains of the Tehalni buruj. Unfortunately, there is no place to climb the buruj as most of the structure has crumbled away. On the right of the buruj, through a gateway you can descend to the second part of the machi.
As you climb down the ruined stairway, you can see the part of machi till the Vyaghramukh. This is another thing I noticed about the machi. The machi is at three levels and at the end of each level you have a bastion and a gateway.


Vyaghramukh and the doorway
The second part of the machi hosts a number of large water tanks, but little else. At the end of this part is the Vyaghramukh bastion. You can get an amazing view of Sanjeevani machi’s dual fortifications from this place. Just before this bastion, on the left, is another gateway which goes down to the third and final part of the machi.

Water tanks on the machi
Once you descend through the gateway, you’ll be able to see a small doorway in the left wall. This gateway is known as Alu Darwaja. Moving forward, you’ll be able to see the final bastion of the machi. You’ll notice that only this part of the machi has two layered fortification. The path towards the bastion goes along the inner wall.

The two walls have a small gap between them. This space is around 2 feet wide and about 8-10 feet deep.

Another interesting thing about the machi’s architecture is that it has multiple additional bastions at regular intervals. These bastions form the first part of the machi’s defence and are located at a lower level than battlements. These bastions have been made accessible with the use of small tunnels through the walls.
Some of these doorways allow entrance to the gap between the walls, while others have small tunnels which pass underneath the walls. Besides these, there is also one place with stairs to descend into the gap.

On the left side, just before the doorway, you can enter the gap between the two walls. From this point it’ll take you around 3-5 minutes to reach the stairs mentioned earlier.
There are a few odd things you might notice if you choose to enter. One is that there are some gaps in the wall which seem like murder holes, sloping downwards into the gap. In another part of the fortifications, there is a small stone carving which looks to be completely out of place.

At the end of the of the machi, you have the final bastion. This bastion is quite large and has some ruins which seem to be mounting points for cannons. We saw three of these mounting points on the bastion. The bastion also has its battlements made to enable cannon fire. Right next to the bastion, you have a small doorway which leads down to an additional outer bastion.

If you visit the machi in winter or summer, you’ll have a greater chance of getting an amazing view of the balekilla from this bastion. Finally, It takes around one to two hours to explore this machi end-to-end.

Wednesday 14 December 2016

Sarasgad

Sarasgad in winter. Seen from Pali

Fort Facts

Name: Sarasgad
Type: Hill Fort
Height: 490 metres
District: Raigad
Base Village: Pali
Route: Pune-Lonavala-Khopoli-Pali